10 Great SEND Ideas For Visual Supports In The Classroom

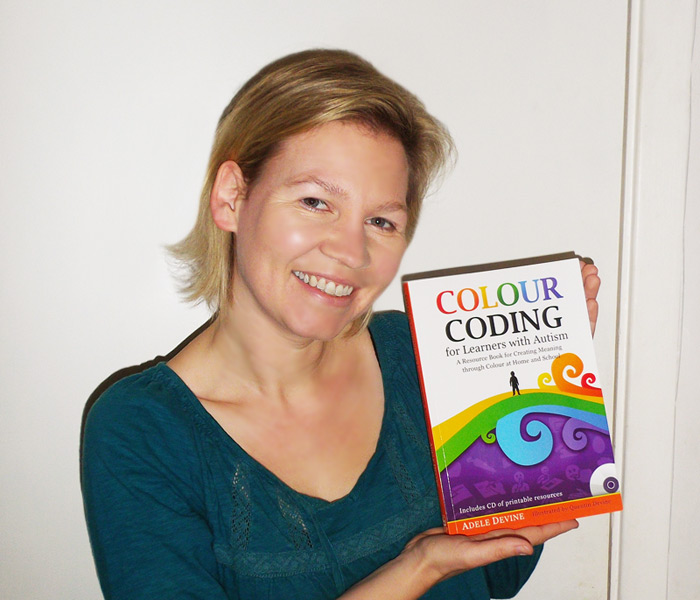
Keep the learners in your classroom informed, grounded and reassured with these 10 ideas for great visual supports from Adele Devine…

- by Adele Devine
- Early years and SEN specialist, author, keynote speaker and trainer Visit website

Think about what keeps commuters on trains calm and reassured during rush hour. Visual information is displayed inside the carriages and stations, showing where they need to go and how many stops they need to travel. Commuters have motivation and a reason for being on the train in the first place, of course – a desire to reach their destination – and many will also have a distractor of some kind on them, such as a book, phone or tablet.
Like those travelling commuters, children with SEND in particular can benefit from the use of visual supports in the classroom – and when used appropriately, the following 10 ideas can ultimately help all learners.
1. Order the environment and reduce visual clutter
Ensure that classroom displays do not bombard or overwhelm. Consider turning out or dimming the lights. Define areas for working, choosing and resting to reduce movement and noise. Provide a visual volume control for students to communicate their comfort level. Create a sense of order with clear visual labels for each area and item. Plan your seating. Some students will work better at the front, others at the back or the sides. Some benefit from a screened space when completing individual work.
2. Think about displays
Imagine being that student who is always at the bottom of the behaviour tower, or the one who hasn’t made any progress on the reading tree. Displays must be used to enhance the learning environment and build self esteem.
Classroom displays can teach and encourage staff to use certain strategies, such as Makaton signing (see makaton. org). Add photos of wanted behaviours, such as sharing or team work, and use a program such as Symwriter (tinyurl. com/symwriter) to add symbols above the words.
Avoid over stimulating, bombarding or creating sensory overload. Simplify.
3. Display visual timetables and schedules
Display a visual timetable, ensuring that it’s accurate, up to date and presented in a way that all students can access. Some students may further benefit from a ‘Now and Next’ schedule, an individual schedule or their own ticklist.
Break down the structure of a lesson structure by drawing up a schedule or tick list on a dry wipe board and cross things out as they are completed. It’s easier to stay on track when expectations are clear. When employed correctly, visual supports such as these can help to encourage independence and personal organisation.
4. Use visual timers – and avoid making false promises
How long will the lesson last? How long is it until lunch? How long until home time? Use timers or time symbols to provide students with this information; egg timers are good for those not yet able to read clocks.
Never remove a timetabled activity, such as playtime, as a punishment – this breaks a promise and risks breaking trust. Similarly, do not make false promises. The student may comply at first, but will remember any promises that weren’t kept next time…
5. Break down expectations and show steps
Some students may respond to a visual token system which shows expectations and leads to a reward. Visuals showing those expectations will help – for example, ‘Good sitting’, ‘Good looking’, ‘Good listening’ or ‘Good waiting’.
Some students may feel overwhelmed by tasks, as they do not yet see that we learn in stages. They will expect instant perfection, but will not achieve it, so set them up to see success by providing a visual breakdown of tasks.
Visual schedules for personal care routines, such as washing hands and getting changed for PE, can help to illustrate the smaller steps that make up these tasks.
6. Use social stories and comic strip conversations
The idea of using social stories and comic strip conversations for visual supports was first developed by Carol Gray. Social stories should be child specific, use individual interests and provide a consistent, calm way to explain or prepare, explain and prevent anxieties.
Comic strip conversations start with a simple stick figure drawn on paper, and can help a student explain their perception of a situation, allowing us to find the roots of anxieties or misunderstandings.
7. Adopt the 5-point scale
The 5-Point scale allows a student to explain anxieties. For example, a sound sensitive child may be able to show that for them, the hum of a classroom strobe light sounds worse than a firework display. Being able to communicate problems such this will develop teacher empathy, build trust and can be the starting point for reaching a compromise or finding a solution.
Trending
Using a 5-Point scale promotes understanding of different perceptions. It can be a useful way to explain sensory issues to other students, helping create allies who understand and may be willing to support them.
8. Traffic lights
Traffic light systems are used in all sorts of ways because they are quick to understand. An obvious application is behaviour reminders – think footballers and those yellow or red cards. Traffic lights can also allow students to subtly ask for help and promote independence. The student can learn a system to suit them – perhaps holding up a red pencil, or turning their pencil case over to communicate anxiety.
Traffic light systems should not be used to single out students. Think how you might feel, being the student who is ‘always on red’.
9. Safety
Images and symbols are quick to understand, which is why they are often used on safety signs.
Imagine looking through eyes that interpret the world literally. If you want to communicate that students shouldn’t run, do not just display the words ‘no running’ with symbols above – a non-reader may simply see the ‘running’ visual and miss the important ‘no’. A red circle and a line through a running symbol will be clearer.
When tackling unwanted behaviours, be aware that a ‘no biting’ symbol may serve as a reminder to the student – ‘Oh yes, I bite’. Show the behaviours you want to see.
10. Post box
A communication post box can give students a voice and alert schools to issues such as bullying. Make available a set of sheets showing different faces and sentence starters – ‘I feel worried because…’; ‘I feel angry because…’; ‘I feel sad because…’ or ‘I feel happy because…’ Teach all students to pass on messages using this method, and let parents know about it too. Students can dictate their feeling, whilst a parent, classroom assistant or teacher does the writing.
Posting a problem away in the knowledge that it will be addressed can significantly reduce anxiety.
Visual support checklist
A checklist of steps you can take to make your classroom more welcoming and friendly
- Maintain a calm, uncluttered environment without overwhelming displays
- Ensure there’s a way to dim the lighting or shade windows from the sun
- Keep a whole class timetable and individual schedules (if required)
- Use visual timers to indicate how long activities will last
- Assign tasks that are differentiated and broken down into clear steps
- Organise a ‘sensory bolthole’ to which students can escape when overloaded
- Arrange seating so that individual needs are met
Last words…
Finally, and most importantly – remember that staff must smile. Children are instinctive. They thrive in a loving atmosphere, where calm, happy adults continually build their trust and self esteem.
Compare the typical school day to that difficult commute. It’s up to us to provide visuals to ease the journey and enable every child to stay on track.
About the author
Adele Devine is a teacher at Portesbery School and the director of SEN Assist – see senassist.com for more details


