KS1 art ideas – Unique projects to spark kids’ imaginations
Challenge your youngest pupils to work with their hands and create their very own masterpieces with these engaging KS1 art projects…

- by Teachwire
- Classroom expertise and free resources for teachers
Unleash the creative potential of your students with our selection of engaging and educational KS1 art ideas, designed to make every art lesson a memorable adventure…
‘Dance’ with paint while listening to music
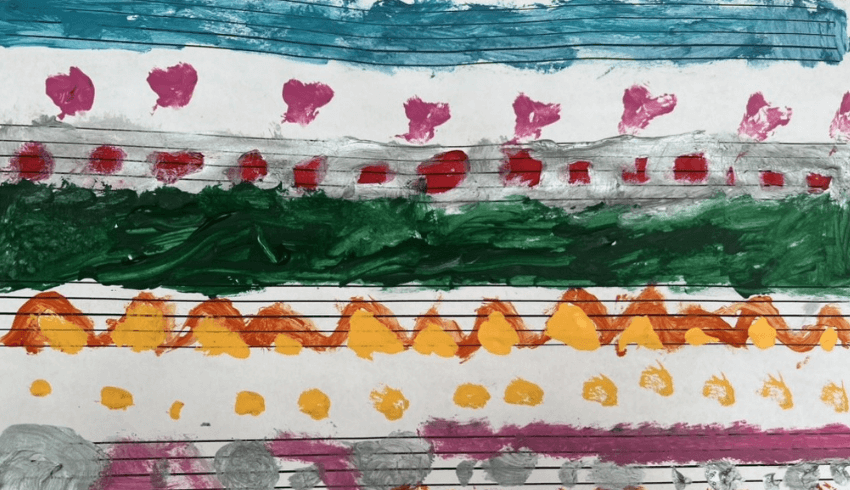
Blend the beauty of art with the joy of music with these upbeat KS1 art ideas from Adele Darlington, inspired by a Louis Armstrong’s masterpiece…
What happens when you give children a paintbrush and plenty of paint and then play Louis Armstrong’s What a Wonderful World to them?
Well, my class were inspired by the rhythm as well as the words, and loved letting their hands ‘dance’ over manuscript paper with the brushes as part of this KS1 art activity. Here’s how you can recreate the magical experience we had.
Sound the trumpet
These KS1 art ideas will introduce your class to this poetic jazz classic, and the deep, gravelly voice of Armstrong, while celebrating the beauty of the natural world. Make sure you give pupils time to listen, feel and, ultimately, dance with paint as they respond to music in visual form by decorating their ‘canvases’ with thoughts and feelings.
Begin by watching the official music video to the song. Its unique, bright animation style is sure to mesmerise pupils, capturing their attention and imaginations immediately. Let them watch and observe during a first showing. Then play the video a second time, encouraging them to watch closely and really notice what they see and hear.
Discuss the theme of the song as a group. What did the artist sing about? What did pupils see that contributes to a wonderful world? In pairs, ask pupils to try and remember as many of the ‘wonderful’ things they saw as they can. Who can remember the most?
Music and lyrics
Following on from the screening of the music video, ask pupils to get comfy, close their eyes and listen closely to the song again, but without any visual stimulation this time. Encourage them to focus on the lyrics. How do they make them feel? Does the song and its melody evoke a happy or a more solemn feeling within them?
In groups, discuss the emotions felt during this listen and invite pupils to volunteer their individual feelings. Why do they think they felt a certain way? Then, give each group a handout of the lyrics (or display them on a whiteboard) and ask them to consider which is their favourite line. Can they explain why? Are they drawn to the blue sky, the white clouds, friends shaking hands or another line entirely?
It’s also nice to think about adding new lines to the song here. If pupils could add more natural wonders to Armstrong’s wonderful world, what would they be? Maybe the sound of singing birds, the blue waves of the ocean, snow on a mountain top or the bright, warm sunshine will feature in their conversations.
Feel the rhythm
It’s now time to get moving to the music. Focus on the rhythm and the beat of the song rather than the lyrics this time. Depending on the age of the children, invite them to sit at tables, on a carpet area or even stand. Sway to the music and tap, clap or click fingers to the beat. Do model this for pupils, as some may find it tricky to recognise the steady pulse that is consistent throughout the music.
Select ‘leaders’ to choose actions (such as tapping shoulders, pointing fingers or bending knees) to carry out on the beat for the rest of the class to copy. Then, clear some space in the classroom and give the children the opportunity to move freely to the music, in any way the tune inspires them to do so.
A brush with a legend
The final part of this sequence gives pupils the chance to dance to the music again, but this time with a twist. Using paintbrushes and paint, the dancing takes place on the page rather than the stage!
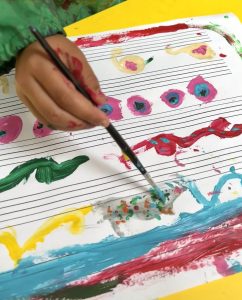
Manuscript paper (with staves printed on, commonly used for writing music) makes an authentic canvas for music themed artwork. Ask the children to cover the paper – usually adorned with a musical score – with colourful paint marks, instead. Provide palettes with a variety of colours of paint in, alongside a selection of different sized brushes and mark making tools (such as sticks, sponges, toothbrushes, corks).
Pupils shouldn’t be expected to create a ‘picture’ in the traditional sense, where an object or scene is depicted; instead, they will produce a pattern or collection of marks in response to the music.
Complete your compositions
Play the track and let the class move their brushes/tools in any way they like, choosing their marks and colours in the moment. There’s no need for them to plan, prep or rehearse. Dots, dashes, swirls, waves, lines may all appear on the paper.
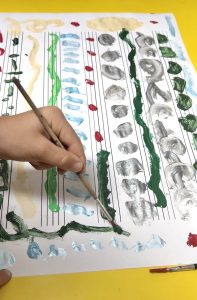
Some pupils may stick to using one colour, others may like to use more; some may show order and pattern, others may be random and chaotic. You’ll need to play the song several times to give pupils the chance to complete their compositions.
Throughout this KS1 art activity, keep reminding the pupils, and yourself, that there is no one correct way to create this artwork. Each response will be individual, independent, unique and – using the word from the song itself – wonderful!
- Inspired by the theme of the song, task pupils with creating their own ‘wonderful world’ artwork using a medium of their choice. Their responses to the theme should be personal and could be a real or abstract representation of a wonderful world.
- Provide pupils with a selection of instruments and encourage them to compose an original ‘wonderful world’ piece of music. What do the sounds in their composition represent?
- Take your class on a walk around the school or local area spotting elements of a ‘wonderful world’. Take in the surroundings, breath in the fresh air and appreciate the world all around using the senses.
- As a class, learn the lyrics to the song and sing together to an audience of fellow pupils, teachers or wider school community. You’ll be sure to make everyone smile!
Adele Darlington is an experienced primary teacher and art consultant. She is also the author of 100 Ideas for Primary Teachers: Art, published by Bloomsbury.
Develop fine motor skills with cardboard cars
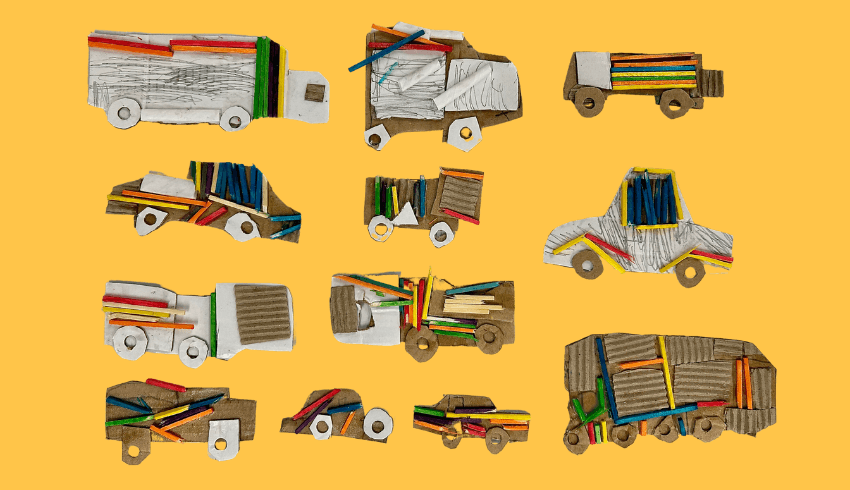
Challenge your youngest pupils to work with their hands and create their very own collage with these engaging KS1 art ideas from Darrell Wakelam…
I created this KS1 art ideas lesson recently with a group of Y1 children as part of a ‘London Landmarks’ project. They absolutely loved it and spent a lot longer making them than I’d anticipated; some of them even made more than one.
It’s simple but effective KS1 art ideas that work the best. You can help by cutting some of the shapes for them if necessary, but it’s great practice for their cutting skills.
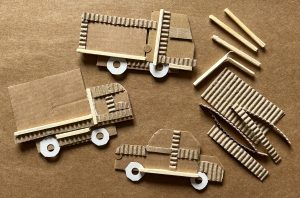
You can substitute the materials too. I’ve used matchsticks and some corrugated card, but you could just as easily use paper straws, or paper with different textures or thicknesses.
1. Car body
For this lesson, you’ll need: cardboard of different thicknesses; corrugated card; scissors; PVA glue; a hole-punch; matchsticks; and paint.
To begin, get the children to cut some cardboard into squares and rectangles of different sizes. These will act as the body of the cars (or trucks/coaches if they prefer).
Pupils may find this easier if you cut longer strips that they can then chop up into smaller sections, but you can decide what works best for your class.
2. Basic shapes
Next, glue some of the cardboard pieces together to make the basic shape of your chosen vehicle. Explain to children that they can layer pieces to make the bonnet of the car, the boot, and the cab, for example. Coaches or trucks may have a longer base.
Pupils can also modify the shapes once they’re glued and dried, by cutting in slightly sloping roofs, drawing in windscreens, or making the edges more rounded.
3. Wheels
Now guide pupils to use a hole-punch to pop circles out of some thin cardboard. These pieces will become the wheels of the car. Help children cut around these holes to make the wheel shapes – each should end up as a circle of card with a hole in the centre.
This is tricky, but it’s good practice and the circles don’t have to be perfect. Glue these onto the vehicles; coaches or trucks might have more!
4. Texture
Glue on corrugated card and matchsticks to add some textures (see picture above). I usually pre-cut thin strips of the card to make it easier for the children, and I show them how it’s better to ‘snap’ the matches rather than trying to cut them.
If they get frayed at the break, you can use your scissors to clean them up, snipping off the rough bits.
5. Painting and colour
Once the glue is dry, the children can paint their vehicles in whatever colour they choose. Can they think of cars, buses or trucks they’ve seen on the road to give them ideas about what kind of colour they’d like to use?
Generally, any kind of paint is fine for this, but I find regular school water-based paints plus a little metallic silver (if you have it) works well to give a bit of shine.
Darrell Wakelam is an artist, teacher, and trainer with over 30 years’ experience of working creatively with children. He is also the author of the recently released book Art Shaped. Follow Darrell on Twitter @DarrellWakelam and see more of his work at darellwakelam.com
More KS1 art ideas
Martian flora sculptures
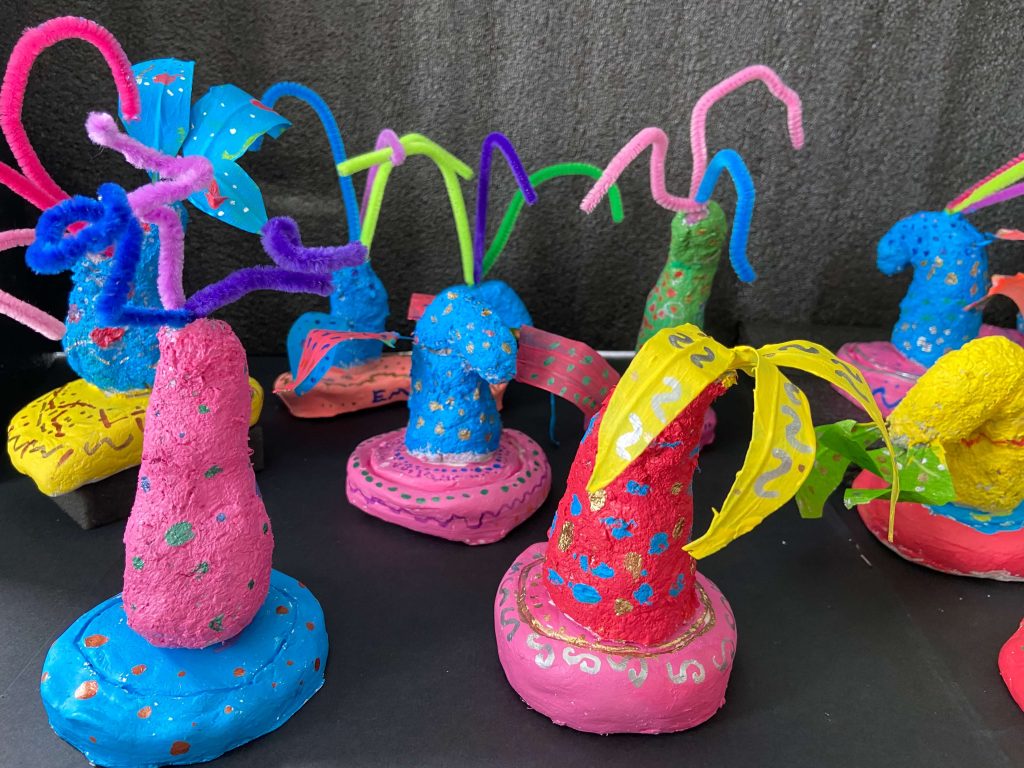
Turn your classroom into a Martian garden with this Year 1 lesson plan. It guides children to design and sculpt their own vibrant alien plants with paper clay, exploring shape, texture and colour, inspired by the abstract work of Chiaozza.
Tiger fur prints
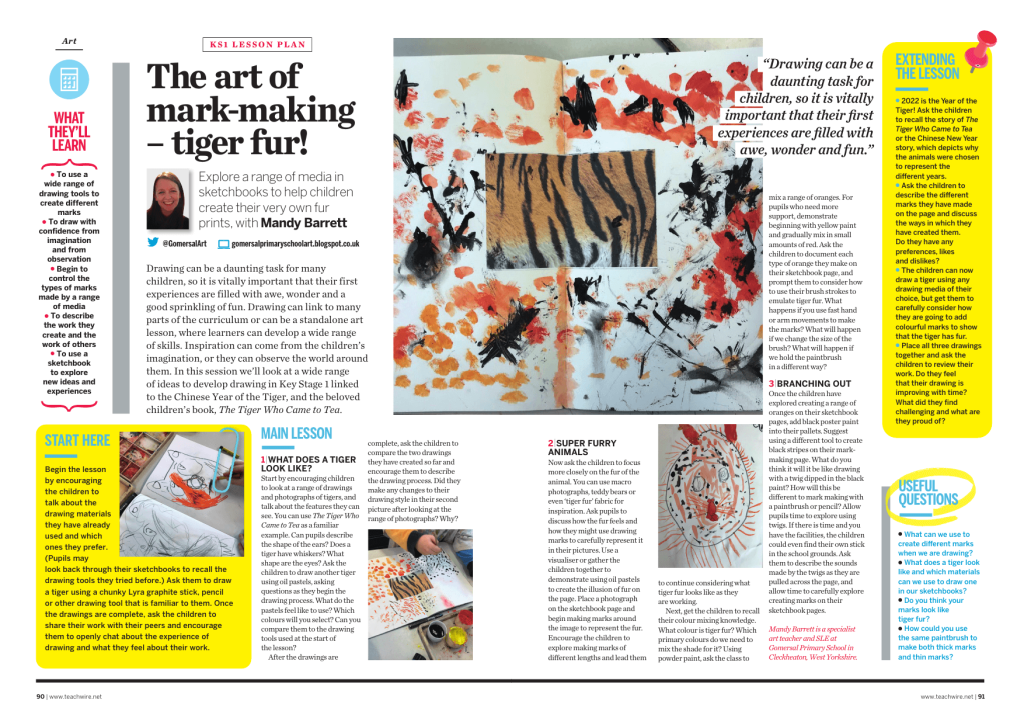
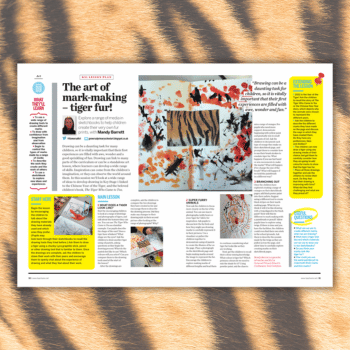
Explore a range of media in sketchbooks to help children create their very own fur prints, with Mandy Barrett’s art lesson based on The Tiger Who Came to Tea.
Light and dark collages
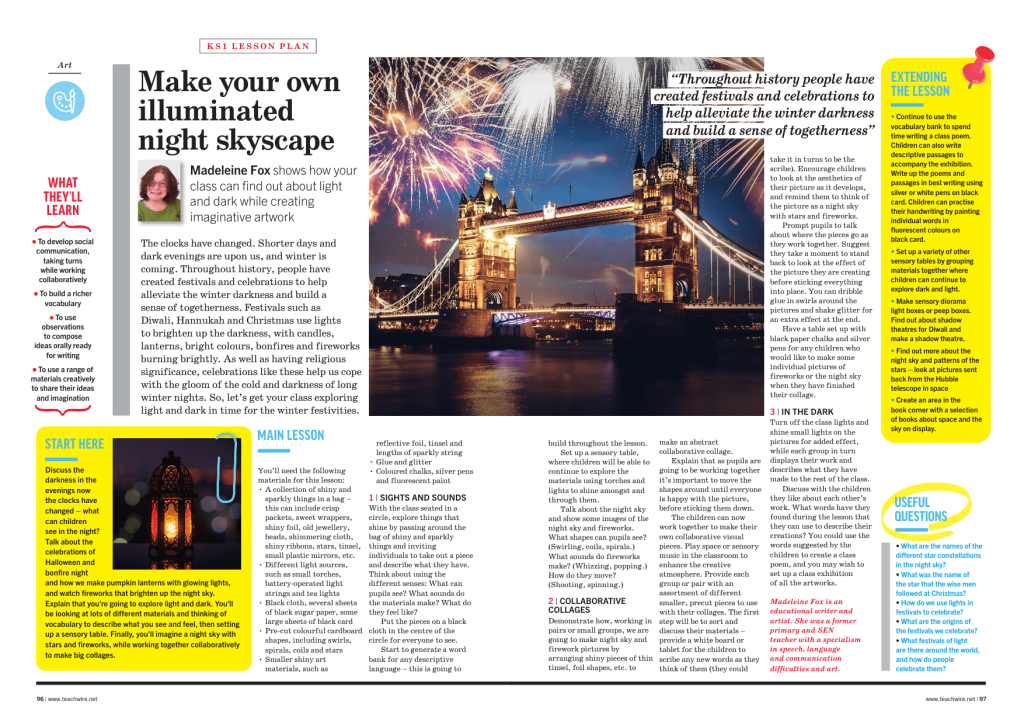
Imagine a night sky with stars and fireworks then work together collaboratively to make big art collages. This fun light and dark art lesson plan from Madeleine Fox shows you how.
Gruffalo art activities
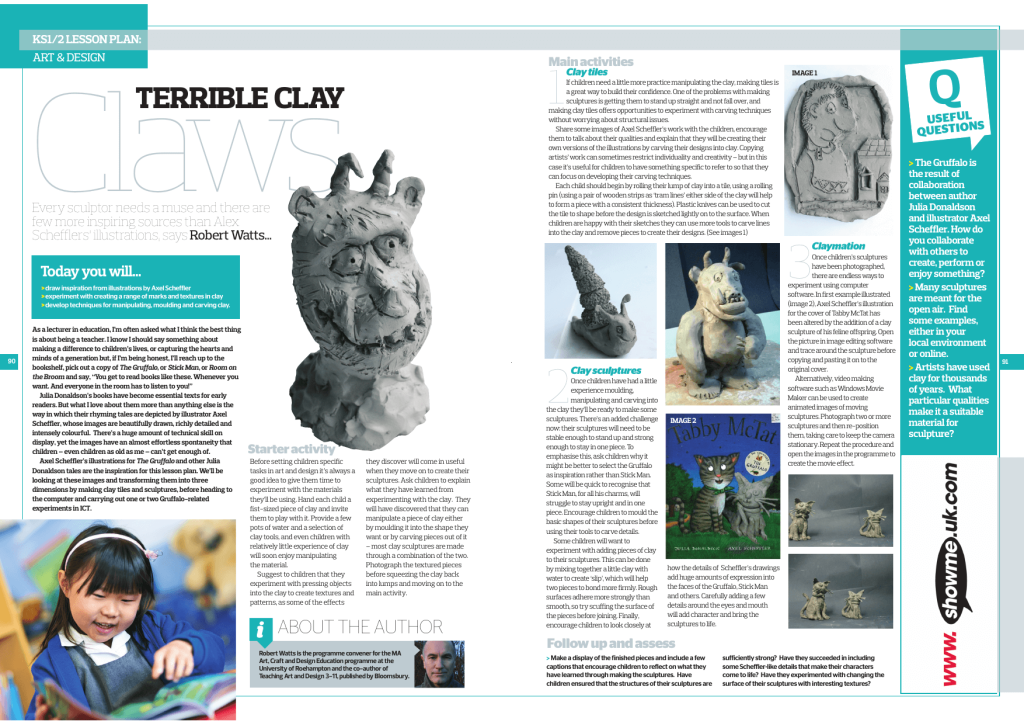
Transform Axel Scheffler’s famous illustrations into 3D by making clay tiles and sculptures with this Gruffalo art activities lesson plan from art lecturer Robert Watts.
Browse ideas for Children’s Art Week.

